
🌿 Mini Greenhouses Made Easy: A Beginner’s Guide Using Polycarbonate Panels
Whether you're a seasoned gardener or just starting out, building a mini greenhouse is a fantastic way to extend your growing season, protect delicate plants, and create a microclimate that thrives year-round. In this guide, we’ll walk you through how to easily set up a beginner-friendly mini greenhouse using polycarbonate panels, and why they’re the ideal material for success.
✅ Why Choose Polycarbonate Panels for Your Mini Greenhouse?
Polycarbonate panels have quickly become the go-to material for DIY greenhouse builders, thanks to their:
-
Superior Light Transmission: Lets in over 80% of natural light while diffusing harsh rays.
-
UV Protection: Coated with UV-resistant layers to protect plants and extend panel life.
-
Durability & Weather Resistance: Unlike glass, polycarbonate is virtually unbreakable and withstands wind, rain, and snow.
-
Excellent Insulation: Twin-wall or multi-wall structures trap heat and stabilize temperature—ideal for colder climates.
💡 Tip: Hollow-core panels are especially beginner-friendly as they provide great thermal efficiency with minimal weight.

🛠️ Tools & Materials You’ll Need
Here’s what you’ll need to get started with your DIY mini greenhouse using DawningHome polycarbonate panels:
| Item | Description |
|---|---|
| ✅ Polycarbonate Panels | We recommend 4mm or 6mm hollow sheets for mini greenhouses. |
| ✅ Wooden or Aluminum Frame | To construct your base and support the panels. |
| ✅ Screws & Fasteners | Use UV-resistant washers to prevent panel cracking. |
| ✅ Ventilation Flap or Small Fan | Ensures airflow and prevents mold. |
| ✅ Basic Tools | Screwdriver, measuring tape, saw (if cutting frame material). |
🧰 Step-by-Step: How to Build a Mini Greenhouse
-
Choose Your Site
Pick a sunny spot with good drainage. South-facing areas are ideal. -
Build the Frame
Use wood or aluminum tubing to construct a rectangular or A-frame base structure. Ensure it's anchored securely. -
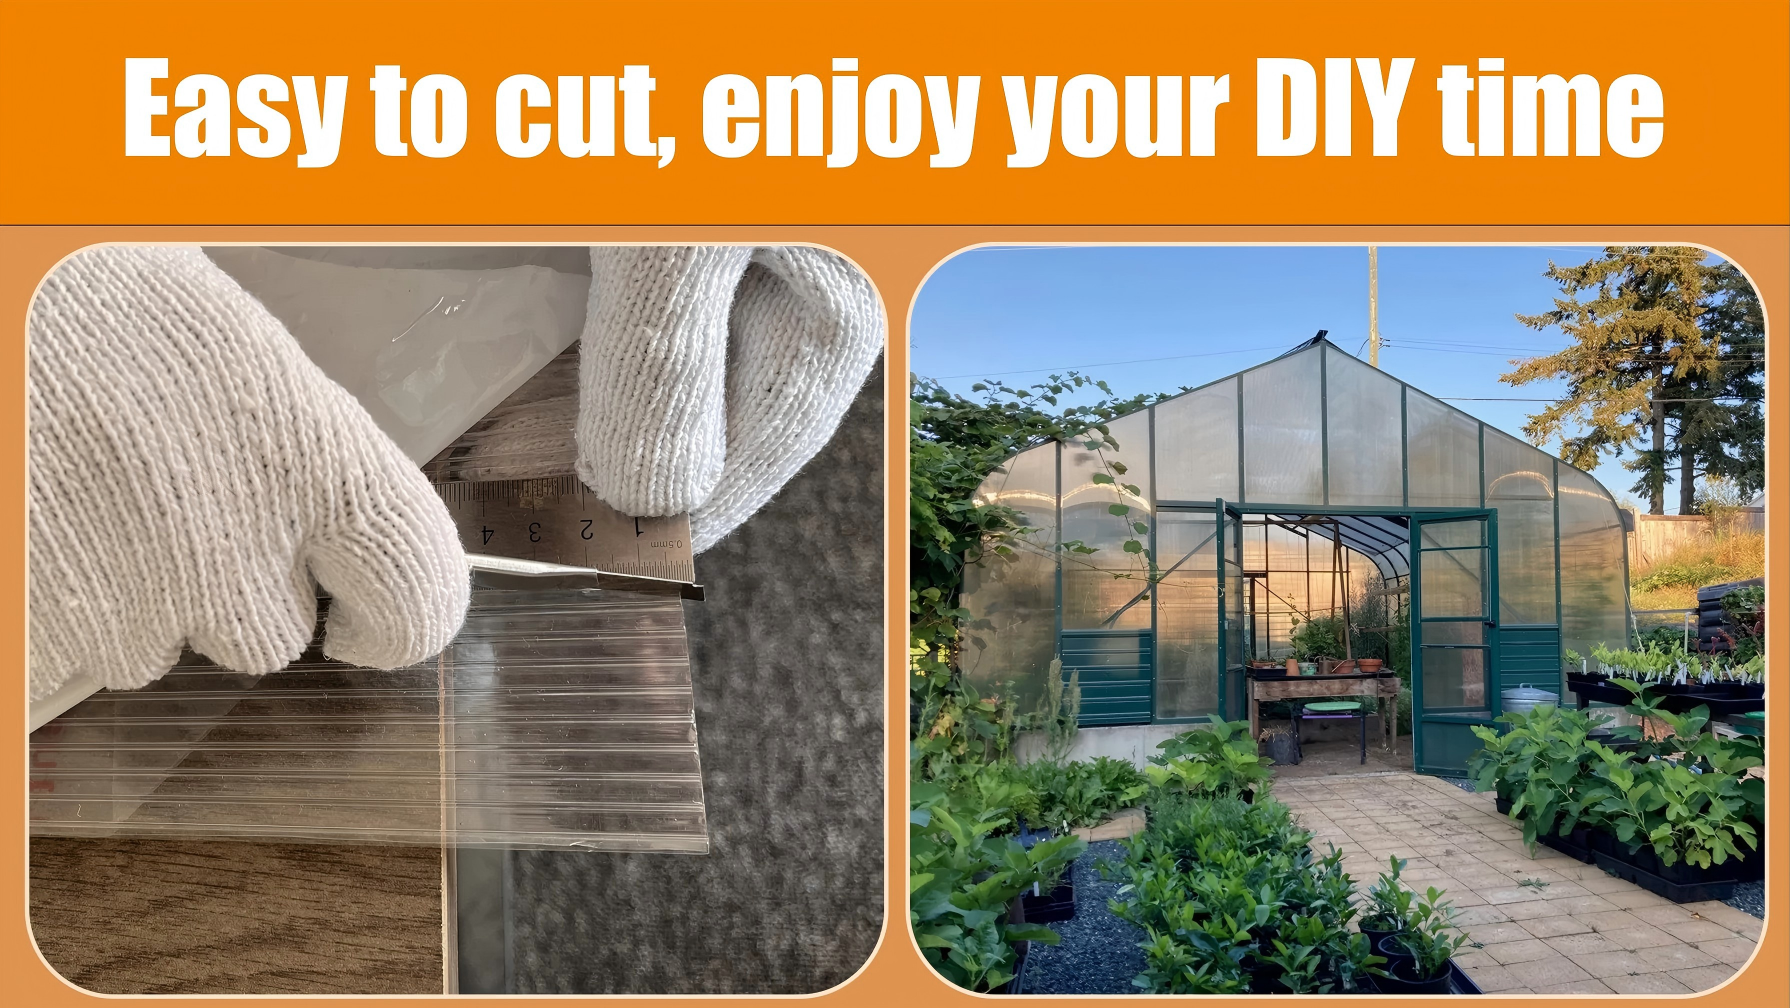
Cut and Attach Panels
Measure and cut your DawningHome polycarbonate sheets to fit the frame sides and roof. Secure with screws and waterproof fasteners. -
Add Ventilation
Install a simple hinged panel or a solar-powered fan to regulate humidity and temperature. -
Seal the Edges
Use aluminum tape or plastic end caps to protect the hollow panel edges from dust and moisture buildup. -
Start Planting!
Add shelving, trays, or raised beds depending on what you’re growing. Start with herbs, lettuce, or strawberries for fast results.
🌱 Best Plants for Mini Greenhouses
| Beginner-Friendly Plants | Notes |
|---|---|
| Basil, Mint, Parsley | Quick growth, low maintenance |
| Lettuce & Spinach | Ideal for cooler temperatures |
| Strawberries | Thrive in small containers |
| Succulents | Great for dry mini greenhouse conditions |
🏁 Final Tips for First-Time Builders
-
💧 Install a small drip irrigation kit for easy watering.
-
🧊 Use thermal bubble wrap on interior during winter months to increase insulation.
-
🔁 Rotate crops every season to maintain soil health.
Looking for a complete polycarbonate panel kit? Check out our full Greenhouse Panel Collection →
🔗 Stay Tuned for More
Next week, we’ll publish:
“5 Unexpected Ways to Use Leftover Polycarbonate Panels Around Your Home” — don’t miss it!


اترك تعليقا
جميع التعليقات تراجع قبل نشرها.